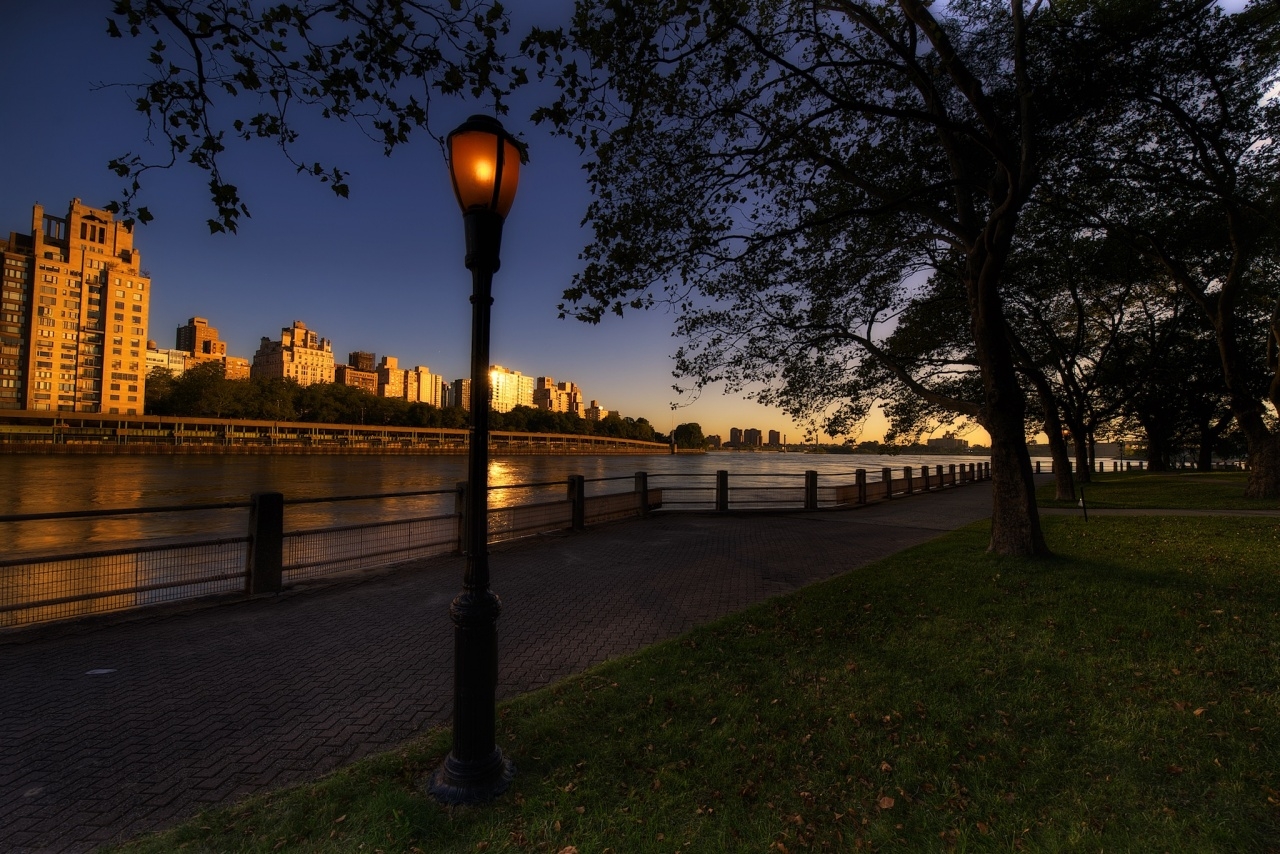
It has been a while since I went into a fair amount of detail on my processing of an image, and showed the original version. Today’s image inspired me to do so. Even though its processing is not anything extraordinary, it seems to embody right where I am today in terms of landscape processing. The final result is a combination of HDR and manual exposure blending, with some additional filters mixed in.
In addition to the final result I am also publishing the original image at neutral exposure, and the result of pure HDR processing, straight out of Photomatix before I made any other adjustments.
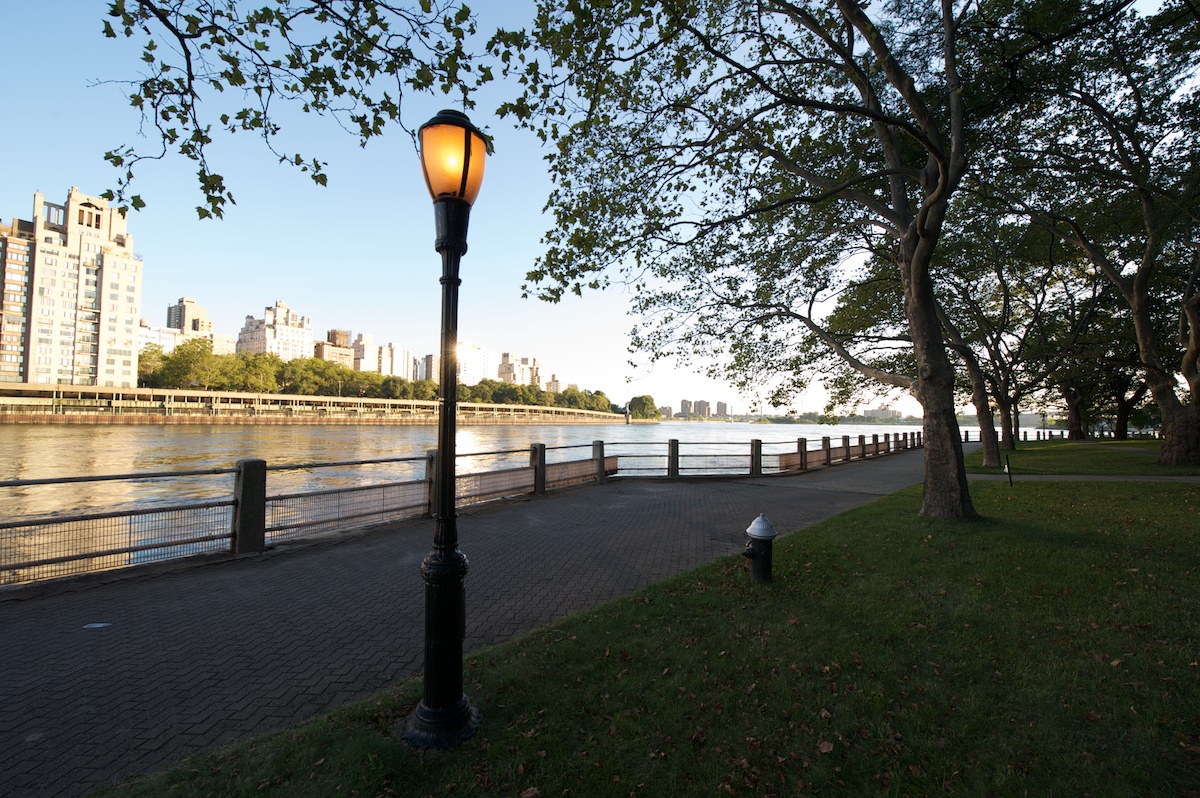
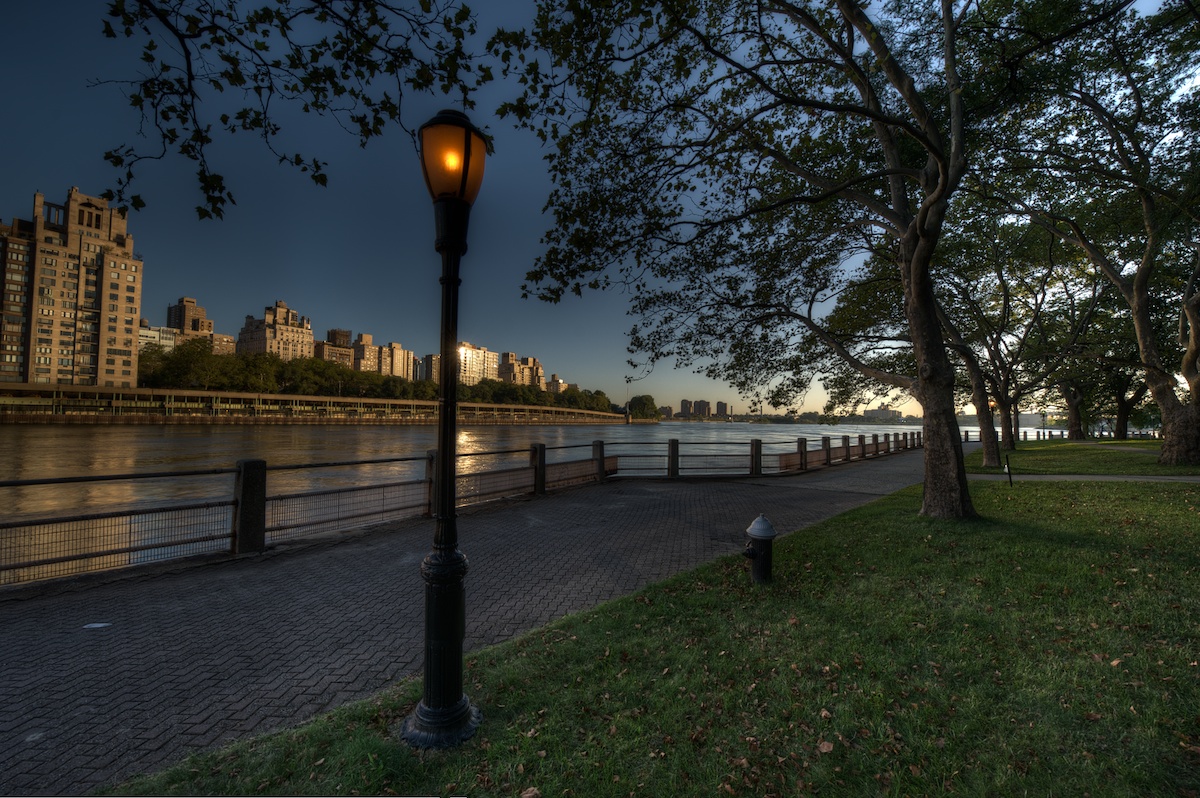
Turning to the plain HDR Photomatix result, you can see that it contains all the standard features of HDR tonemapping: even exposures, strong detail, especially in in the grassy foreground, a weird sky, and a slightly surreal overall effect. While the dreamlike look works well in urbex and in many night scenes, I personally have come to dislike it in most of my daytime landscape and cityscape pieces.
So my first move was to pick a darker plain exposure and open it in Photoshop together with the HDR version as layers. I put the HDR on top, added a mask, and manually blended in parts of the dark exposure. In the end, I pretty much used all of the darker version for everything from the river and higher, including the sky, tree, and the buildings across the water. This meant losing detail in the tree but that seemed to make the image more realistic so I considered it a good trade-off. I also mixed the same layers below the water line, but only using the dark exposure to about 30%. I did this because that area just seemed unnaturally bright before the blend.
Then I started in with Nik Color Efex. I first added the Skylight Filter to punch up the golden hour look as I mentioned earlier. I used to use the Reflector Effect filter for this, but have started relying more on Skylight. There is also a Sunshine filter I sometimes use, but I seem to get the best results with Skylight. Then I added the Glamour Glow filter. This is designed for portraits, but I find it very useful on hdr landscapes. Sometimes I apply it only to parts of an image using the brush. It tends to darken things a bit, and adds a “glow” which softens details. Here I applied it to the entire image as it seemed to tie the different tones together, and softened the details a bit, adding a touch more realism I thought. At this point I used Content-Aware Fill in Photoshop CS5 to get rid of the fire hydrant and that was it. I finished up with some sharpening using Nik’s Sharpener Pro and was done.

Bob Lussier
10 Sep 2011Love the shot, and its great to see some details on your processing.
Jim Denham
10 Sep 2011Great image and really enjoyed reading the processing detail! Good stuff!
Jim Denham recently posted..A Hint of Fall
Edith Levy
10 Sep 2011Great shot. Thanks for sharing your processing method. I too am usually disappointed at how my sky’s look after tonemapping.
James Howe
10 Sep 2011I really like the final image and I appreciate you giving some details on how you processed it.